Providing access to high quality food is essential for their health and well-being of your flock. While there are many types of feeders out there, we have found that a great way to achieve this is by building a DIY PVC chicken feeder that allows easy access to feed while minimizing waste. In this DIY project, we’ll guide you step-by-step on how to construct a simple and effective PVC chicken feeder that you can make at home. By the end of this article, you’ll have a comprehensive understanding of the process, from gathering materials to the final assembly. Let’s get started!
Materials Needed:
- 4-inch diameter PVC pipe (length will depend on the size of your flock but typically 3 to 4 feet)
- 4-inch Pipe Saddles or Galvanised strapping to anchor your feeder to a wall or post
- PVC pipe elbows (two 90-degree elbows and one 45-degree elbow)
- PVC pipe caps (one for each end)
- PVC pipe adhesive (for secure connections)
- Saw (hand saw such as a hacksaw or power saw)
- Measuring tape
- Marker or pencil
- Sandpaper or file (for smoothing rough edges)
Prepare your DIY PVC Chicken Feeder
- Measure and Cut the PVC Pipe – To begin, you’ll need to determine the desired length of your chicken feeder. Consider the size of your flock and the amount of feed you typically provide. Using a measuring tape, measure and mark the PVC pipe at the desired length. For example, if you want a feeder that can hold 10 pounds of feed, a length of 24 inches should suffice.
- Cut the PVC Pipe – Using a saw, carefully cut the PVC pipe along the marked line. Take your time and ensure a straight and clean cut. A hand saw or a power saw with a fine-toothed blade will work well for this task. It’s important to make precise cuts to ensure proper fitting and functionality of the feeder.
- Smooth the Edges – After cutting the PVC pipe, you may notice some rough edges. Use sandpaper or a file to smooth any sharp or uneven edges. This step is crucial to prevent any potential injuries to your chickens and make the feeder more comfortable for them to use. Take your time to ensure all edges are smooth and free from any roughness.
Instructions to Assemble your DIY PVC Chicken Feeder
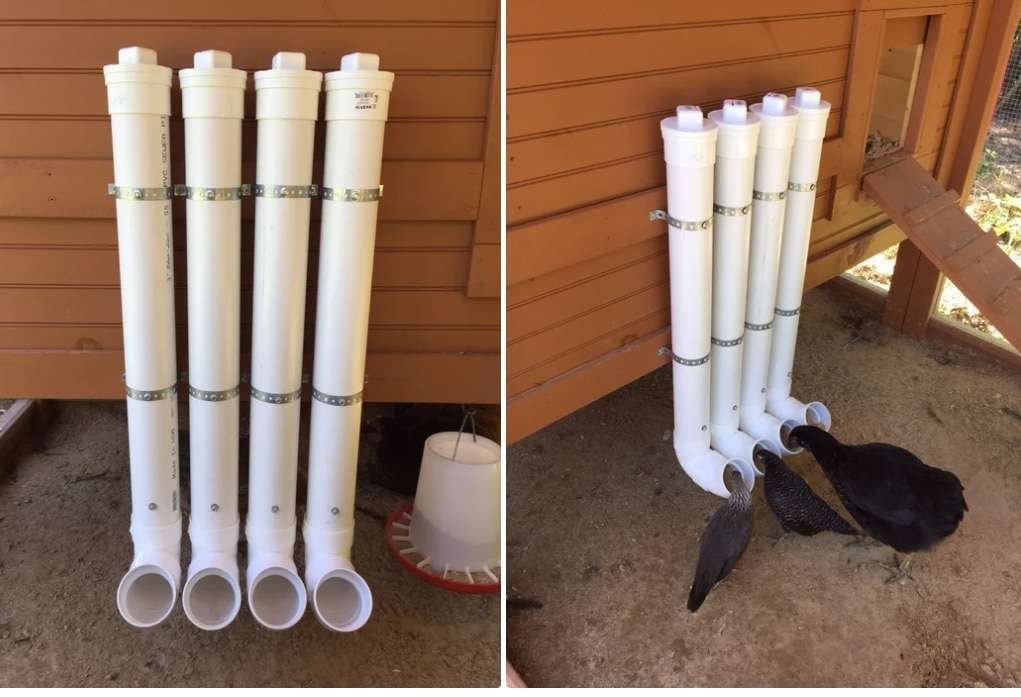
- Assemble the Feeder – Now it’s time to assemble the PVC chicken feeder. Take one end of the PVC pipe and attach a 90-degree elbow. Apply PVC pipe adhesive to the inside of the elbow and the outside of the pipe to ensure a secure connection. Repeat the process with the other end of the PVC pipe, attaching the remaining 90-degree elbow. This creates a U-shape configuration.
- Attach the 45-Degree Elbow – In the middle section of the PVC pipe, attach the 45-degree elbow. This elbow will create a downward slope for easy access to the feed. Apply PVC pipe adhesive to the inside of the elbow and the outside of the pipe before connecting them. This will ensure a tight and secure fit.
- Secure the Caps – To complete the feeder, attach PVC pipe caps to both ends. These caps will keep the feed contained and protected from debris, ensuring its freshness and quality. Apply PVC pipe adhesive to the inside of the caps and press them firmly onto the pipe ends. Allow the adhesive to dry and set according to the manufacturer’s instructions.
Install your DIY PVC Chicken Feeder
- Test and Adjust – Before installing the feeder, it’s important to test its functionality. Pour some feed into the top end of the feeder and observe how the feed flows down. Ensure that there are no blockages or obstacles preventing a smooth flow. Adjust the angle of the 45-degree elbow if necessary to optimize the feed flow.
- Install the Feeder – Choose a suitable location in your chicken coop or run to install the PVC chicken feeder. You can mount it on a wall or attach it to the coop using hooks or brackets. Ensure that it is at a convenient height for your chickens to access the feed easily. Consider placing it away from nesting boxes and perches to minimize feed contamination.
- Fill the Feeder – Once the feeder is securely installed, fill it with your desired chicken feed. The feed will flow down the sloped section of the feeder, providing easy access for your chickens. Ensure that the feed flows freely without any clogs or obstructions.
Monitor your DIY PVC Chicken Feeder
Regularly monitor the feeder to ensure it remains clean and free from blockages. Clean the feeder periodically to prevent mold growth, bacterial contamination, or pest infestations. Remove any accumulated feed residue and clean the feeder as needed. Consider placing the feeder in a shaded area to protect the feed from direct sunlight and adverse weather conditions.
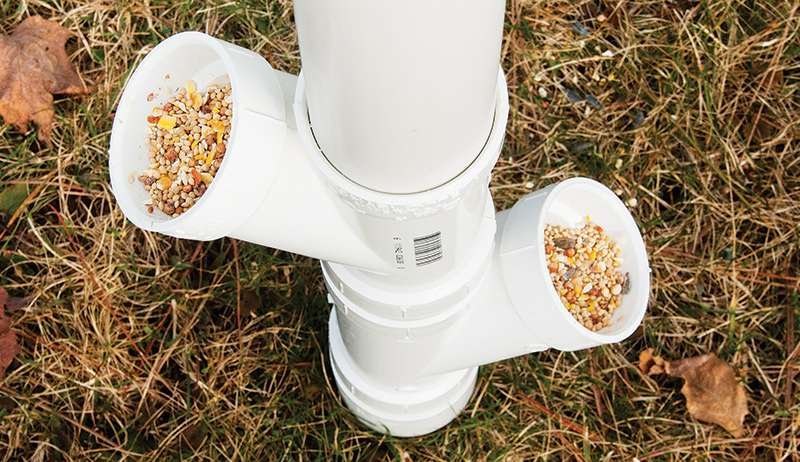
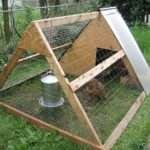
Note, there are other styles or designs of DIY PVC Chicken feeders that might be more suitable to the layout of your coop such as using an angled Tee section as per the picture below. Alternatively, if you do not have tools to cut and attach the PVC together, a straight PVC pipe into a bucket that sits about 2-inches below the rim of the bucket will also produce a gravity fed feed system. The options are only limited to your imagination now you know what it should look like and function.
Building a PVC chicken feeder at home is a cost-effective and practical solution for efficient feeding of your flock. By following these step-by-step instructions and taking the necessary precautions, you can create a custom feeder that minimizes waste and provides easy access to feed. Remember to monitor and maintain the feeder regularly to ensure your chickens have a constant supply of fresh feed. Enjoy the benefits of your DIY PVC chicken feeder, and may your bock bocks thrive with every feeding!
Related posts:
 Building a Chicken Coop on a Budget:
 Best Treadle Feeders for Chickens: Efficient Feeding Solutions
 DIY Egg Collecting Container: Fun Projects with Your Kids
 The Best Chicken Waterer: Options, Costs, and Maintenance
 Simplify Chicken Raising: The Ultimate Time Savers